Monday 31 December 2012

Baader D-ERF Review

I recently purchased a 75mm Baader D-ERF from Teleskop Service in Germany, so thought would do a review of it:

Teleskop Service on their webpage describe simply as "prevents heat from entering the telescope" This describes perfectly what the filter does, but personally feel does not do it full justice.  The following is taken directly from their website and gives further technical details about the filter.

The D-ERF filters by Baader are unique - and made in Germany! The filter glass is, in opposite to other makes, plane-parallel polished with a precision of 1/10 λ. The have an effective infrared reflective coating protecting the tube's internal parts from heat. Tube seeing is reduces and expensive filters near the focus are protrected from thermal stress. This is a prerequisite to use H-α narrow band filters.The Baader D-ERF main advantages:-- High quality plane-parallel polished substrate with a surface precision of 1/10 λ.
-- Dielectric interference layer coating system for IR reflection
-- Multi-layer anti-reflective coatings to prevent reflections
-- Stress-relieved substrate

Technical detail:

-- Diameter: 75mm
-- IR and UV reflecting
-- Dielectrical coatings


ERFs or Energy Rejection Filters like this are used in Hydrogen Alpha solar scopes to reject all but a narrow band of energy centred on the Ha line at 656.28nm, this can be seen in the graph above.  If not rejected, the IR and UV light can damage delicate coatings in etalons and blocking filters, not to mention protecting our eyesight.  Intially designed for the Solar Spectrum and Daystar rear mounted Hydrogen Alpha filters, these ERFs have found favour with amatuers doing Coronado PST mods - removing the etalon from a PST and incorporating this in a much larger refractor with suitable filtration - ie. a Baader D-ERF.

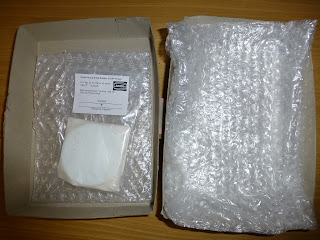
I have purchased several items from Teleskop Service in the past and have never ceased to be impressed with their level of service and communication, and their dealings with them in this instance lived up to my expectations.  The filter was shipped by UPS and arrived in a small shoe box sized cardboard box.  

Upon opening this I found wrapped in copious amounts of bubble wrap another smaller and flatter cardboard box.  Within this was more bubble wrap, and inside this a bubble wrap bag that contained a small jiffy bag, which, within this was the ERF which was wrapped in a tissue paper.  I have to say I am completely impressed with the care and attention that Teleskop Service have gone to with their packaging, and short of the box being run over by a truck it is highly unlikely that any damage to it's contents are ever likely to occur.  Very impressive! 

 The tissue paper also had what appeared to be a serial number or item code for it written in pencil on the tissue paper.  More importantly on the sticker on the plastic bag showed indication of which way around the filter should be place.  I do not speak German, however this is of no consequence as the instructions are fairly self explanatory!  A closer view of this instruction sticker can be seen below.
 

 Upon remving the ERF from the tissue paer wrapping the first thing that is apparent is how 'shiny' or reflective this filter actually is, so much so that is pretty difficult to get a decent photograph to show this.  Possibly one of my only criticisms, or read ways to improve it would be to blacken the edges of the filter, as at the moment these are just a frosted glass.  There may well be some technical reason why this is the case, but if there is then i'm not aware of it. 
 
For the amatuer telescope maker there always remains the option of using a black marker pen or a black lens edging pen to achieve the desired result.  To my eyes the filter has a curious orangey red hue to it, which I think the camera does a half decent job of showing.  It can also be seen on the unblackened edges that the filter has the same 'code number' written on in pencil, as well as a single small arrow indicating which face of the filter should point towards the sun, and hence then the other face which must point towards the telescopes objective lens.

Not that I had any reason to doubt or disbelieve Baaders quoated specification, but I decided to measure the filter.  It came in as 6mm thick and 75mm in diamter.  This will need to be factored in for any filter cell that is manufactured to hold it, meaning that the maximum usuable aperture from this filter is a sensible 70mm, 72mm at an absolute push.  Teleskop Service offer a heavy duty aluminium custom cell to hold this filter, and other glass solar filters, which at the time of this review retails at 145Euros for the 75mm filter. 
 
This is custom machined to the size of your OTA and also the size of your filter, and is felt lined to prevent scratching to the tube and also features large thumbscrews for ease of fixing.  Teleskop Service will also fit your filter to the cell if the cell and filter are both ordered simultaneouslly.  Ofcourse this is not the only option for a filter cell, and searching the web there are several imaginative solutions using easily obtainable materials and 'household items' that can be adapted into a perfectly good and usuable cell.

The picture opposite shows well how reflective the coatings on the Baader D-ERF are, and also highlights the importance of tilting it (or any ERF) with respect to the normal of the optical axis of the system being used.  If the ERF is not tilted, then both visually and photographically a series of overlapping disks of the sun will be see, aswell as being visually intrusive, where these overlap on the solar disk or limb there is a loss of contrast.  
To sum up, I am incredibly pleased with this filter; in addition I also own the 110mm version, which I also ordered from Teleskop Service and received the same high standard of service and packaging.   The question is why would you buy a Baader D-ERF when there are other similar alternatives available from the likes of Lunt and Daystar?  Well, the D-ERFs may not be the cheapest on the market - 255euros for the 75mm version, or 485euros for the 110mm version, however with that extra cost you are paying for the quality.  Baader D-ERFs are figured to 1/10 λ, whereas the Lunt equivalents are quated at less than 1/4 λ.  Put simply, if you have a high quality refractor that you use for Ha, then putting an ERF with a higher λ value, the overall optical system is only going to operate at the λ value of the ERF used.  Part of the reason for the λ value is down to the thickness of the ERF - the Baaders are 6mm thick at 75mm diameter, whereas the Lunt equivalent is only 3.5mm thick.  By definition it is harder to hold the figure of the glass when it is thicker than when it is thinner.  The Lunt ERFs will perform absolutely fine as evidenced by the vast number of excellent images taken through Lunt scopes (and hence ERFs) on the web, however if the buyer wants the absolute best the ERF world has to offer then the Baader D-ERF is the way to go.    Another selling point is the range of sizes available - lunt offers 40mm, 50mm, 75mm and 100mm; Baader on other hand offer ERFs in 75mm, 90mm, 110mm, 135mm, 160mm and 180mm, so greater flexibility there. 
 
As you can see, i'm more than happy with my Baader D-ERF, and, if you are in the market for or considering buying an ERF I can wholeheartedly recommend the Baader!


Saturday 29 December 2012

Update On Solar Cycle 24

2013 is only days away, and according to most forecasters, Solar Max should be approaching as well. But is it? Barely-increasing sunspot counts and anemic solar activity suggest an interesting possibility: Perhaps Solar Max is already here. This plot of measured vs. predicted sunspot numbers illustrates the idea:
 
 
The blue curve traces monthly sunspot numbers measured since 2000. The red curve is the prediction of the NOAA-led Solar Cycle Prediction Panel. So far, Solar Cycle 24 is underperforming even compared to the panel's low expectations.
 
There is still a strong chance that Cycle 24 will rebound and peak in 2013 as expected. It might even be a double-peaked cycle like the cycle before it. As 2013 nears only one thing is certain: we don't know what will happen.


Thursday 27 December 2012

Dreary December Sunshine - 27th December

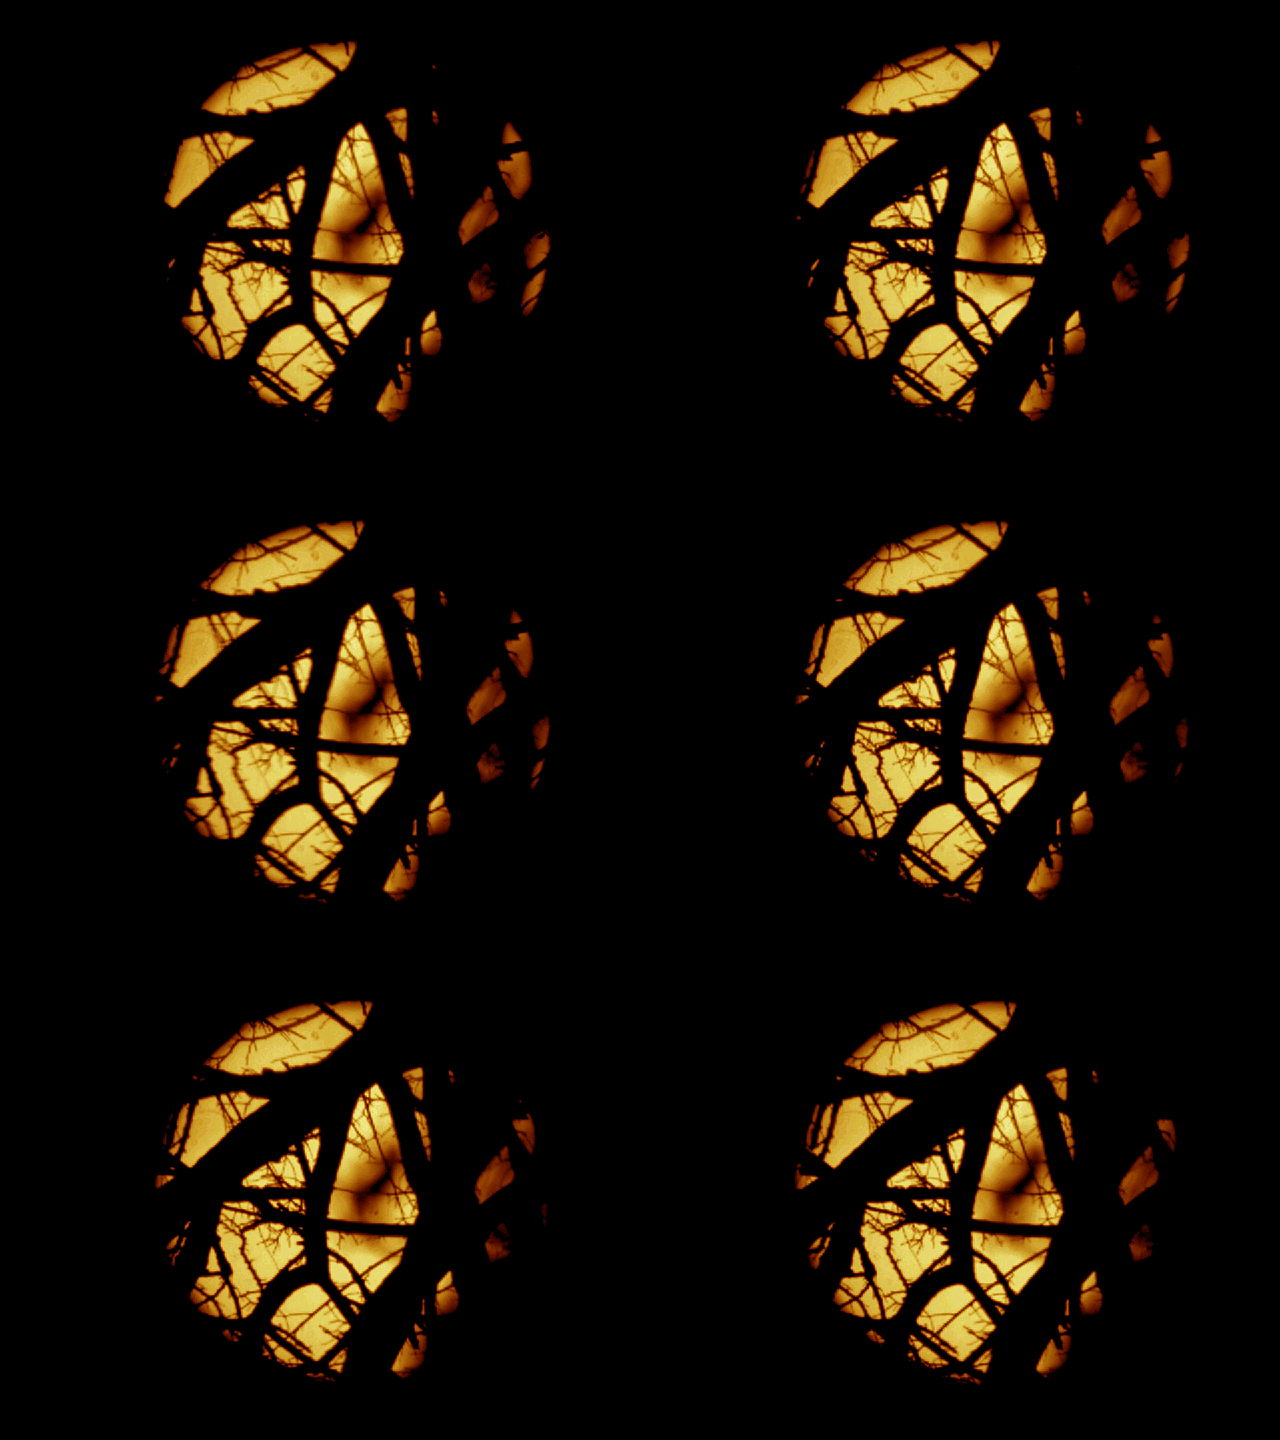
December has been a terrible month for solar observing, despite a frosty start to the month things rapidly took a turn for the worst with endless low pressure system after low pressure system coming in across the Atlantic and stalling over the British Isles as the Russian high pressure block didn't allow them to carry on as usual across Europe.  I've been using a PST on a camera tripod for my winter observing this year as it allows me the portability to move around and snatch the brief solar gaps that occur between the houses and trees which if I used my regular observing rig I would not be able to capitalise on. 

I thought I would try something different today with double stacking it using the etalon from my DS40 setup.  I've tried this before but have never really been 100% happy with the results as they showed banding and uneven illumination.  Today I tried the 'other half' of my double stack etalon configuration with much better results.  The uneven illumination is all but gone, and there is no noticeable banding - there is a little hot spotting as a result of the PST etalon itself, but using my etalon mods as described in the equipment section of this website it should be possible to reduce this still further. 

As can be seen from the animation above, today had far from clear skies, however inbetween the rain I did manage a short observation, even if there were some clouds about.  I'm really looking forward to the new year coming and the sun getting higher in the sky and being able to get some proper observations in.

Sunday 16 December 2012

Ha Full Disk - 16th December

ha full disk by Mark Townley
ha full disk, a photo by Mark Townley on Flickr.
I finally managed to get some sun on this winters sunday morning. I had the PST set up on a camera tripod and was having to continually move it around to avoid the leafless branches that hide my near solstice horizon. Never the less i'm able to shoot about 600 frames before the sun drifts out of the fov of the DMK31. This is a 2 pane mosaic as the chip of the DMK just isn't large enough! Guess I need a DMK41 aswell... I did try the PL130M but the results from this are second par to the DMK, shame as it has a nice wide fov. Given the low altitude of the sun and attendant horizon haze i'm pleased with the way this has come out for a single stack shot. It has me eagerly anticipating the new year when will be able to run the PST mod in 70mm mode at 400mm focal length - detail levels and resolution will increase significantly then...

Solar Dynamics Observatory - 14th December


This winter hasn't been obliging in letting me get some observations of our star in, so I decided to turn to the SDO which is not plagued by bad weather, low altitude sun etc.  The data from NASA is all 'free to use' and so decided to take a look what was available and see if could present it in a form that was suitable for this website and forums.  This GIF animation was created in Photoshop CS4 using the 'SDO movie of the day' as the source material.  I plan to put the technique together as a youtube tutorial and put this in the imaging tutorials section of this website. 

What I think this animation does show very well, is that despite our star apparently being pretty quiet from our perspective on Earth on friday 14th december, at these extremely short ultra violet regions it can be seen flaring away and throwing huge clouds of plasma out into space.  Earth would only be a few pixels wide on this scale, and this brings home just how insignificant we are in the scale of the universe.

Saturday 8 December 2012

Some Sun, Some Trees, Some Cloud - 8th December


The title of this post sums up solar observing for me in winter:  I'd borrowed a PST on the grounds it's nice and portable and on a camera tripod could capitalise on the the moments when the sun is inbetween the gaps in the trees...

Putting on one of the external etalons from my DS40 I started observing visually and was pleased with the results the DS PST gave me.  I soon became aware that the clouds were rolling in fast on the still northerly breeze and so turned my attentions to trying to get some images.   First off I tried the DMK31 but this does not give a full disk in the fov, and was clear that that etalon in the PST was rather 'slack and sloppy' and was difficult to get the sweet spot centralised in the fov.  As a result features on the disk went in and out of band as the sun drifted through the fov.  Needless to say this PST will be getting a 'hypertune' to improve matters.

Time to switch to the Opticstar PL130M, as mentioned in the previous posting i've been trying to get this working better for solar work; today reminded me of something i'd found previouslly with this camera - it's not possible to set the exposure short enough; it was only when the haze got thicker I was able to stop the histogram from clipping.  I have a ND filter I will incorporate next time I get to image with it.  The fact the image is undersampled in firecapture to 640x480 when recording is a real hindrance - so much detail is being lost.  I'm hoping with time this is something the author of the software might address.  It took some considerable time using the variable settings that were available to come up with something that rendered some of the disk detail visible, and even then it's nowhere near the quality of the DMK.  Dropping the gamma setting on the opticstar definitely seems to have the effect of reducing the dynamic range it is recording.  I may have to try messaging them and see if there is any alternative control software available to improve matters.

Still, given the conditions and variables that have conspired, i'm pretty pleased with the result!

Proms 7th December

sun 7th dec prom by Mark Townley
sun 7th dec prom, a photo by Mark Townley on Flickr.

I'm doing some experimenting with an opticstar PL130M CMOS camera that I have lying around. 'In theory' this cam could be a winner for me for winter solar viewing - it has a nice big 1280x960 chip that easily fits a solar full disk at 400mm fl from a PST, with enough space around the edges to allow for some drift when mounting on an 'untracked' standard camera tripod. However, all is never so simple; the bundled software with the camera aswell as having an awful interface crashes my windows 7 laptop. There is some remedy in this in that I can use the camera on the excellent 'Firecapture' software - problem here is that this software sees the camera as a webcam (which effectively it is!) and as a result scales down the resolution to 640x480 - hmmmm.... This effectively really undersamples the image and at this size makes it difficult to record any real detail.

However, given the the circumstances the above image was taken i'm actually pleased with the outcome - this was shot through a dirty double glazed window looking directly across a large asphalt roof on a large building. This is also a single frame as avistack just mushes up a stacked image as there isn't actually much contrast there... Not perfect, but given the odds not bad especially as the sun is pretty much as low as it gets in december...

Saturday 1 December 2012

Sun Through The Trees - 1st December


This is the reason It's so difficult for me to get many solar images over the winter monthes;  where I live is down in a dip and the horizon is artificially high due the urban skyscape of rooftops.  Unfortunately this morning it was cloudy when I had my brief solar window, and when things did clear up the sun had found its way into the trees!  This makes for a lovely silhouette, but there's not a lot to see on our star as a result!